
How to Use a Shader Brush
These brushes allow you to achieve beautiful results using a variety of techniques from laying down multiple layers of color to defining edges to shading. For best results, apply in a “drag-n-lift” or “flicking” motion.
note this post contains affiliate links
Mastering the Art of Cardmaking and Paper Crafts with the Waffle Flower Shader Blending Brush
Cardmaking and paper crafts have taken the world of DIY enthusiasts by storm. The joy of creating personalized greeting cards and crafty projects brings out the artist in all of us. As any seasoned crafter will attest, the right tools can make all the difference in elevating your creations from good to stunning. One such tool that has captured the hearts of crafters is the Waffle Flower Shader Blending Brush. Let’s explore how to make the most of this fantastic tool to enhance your cardmaking and paper craft projects.
How to Use the Shader Brush
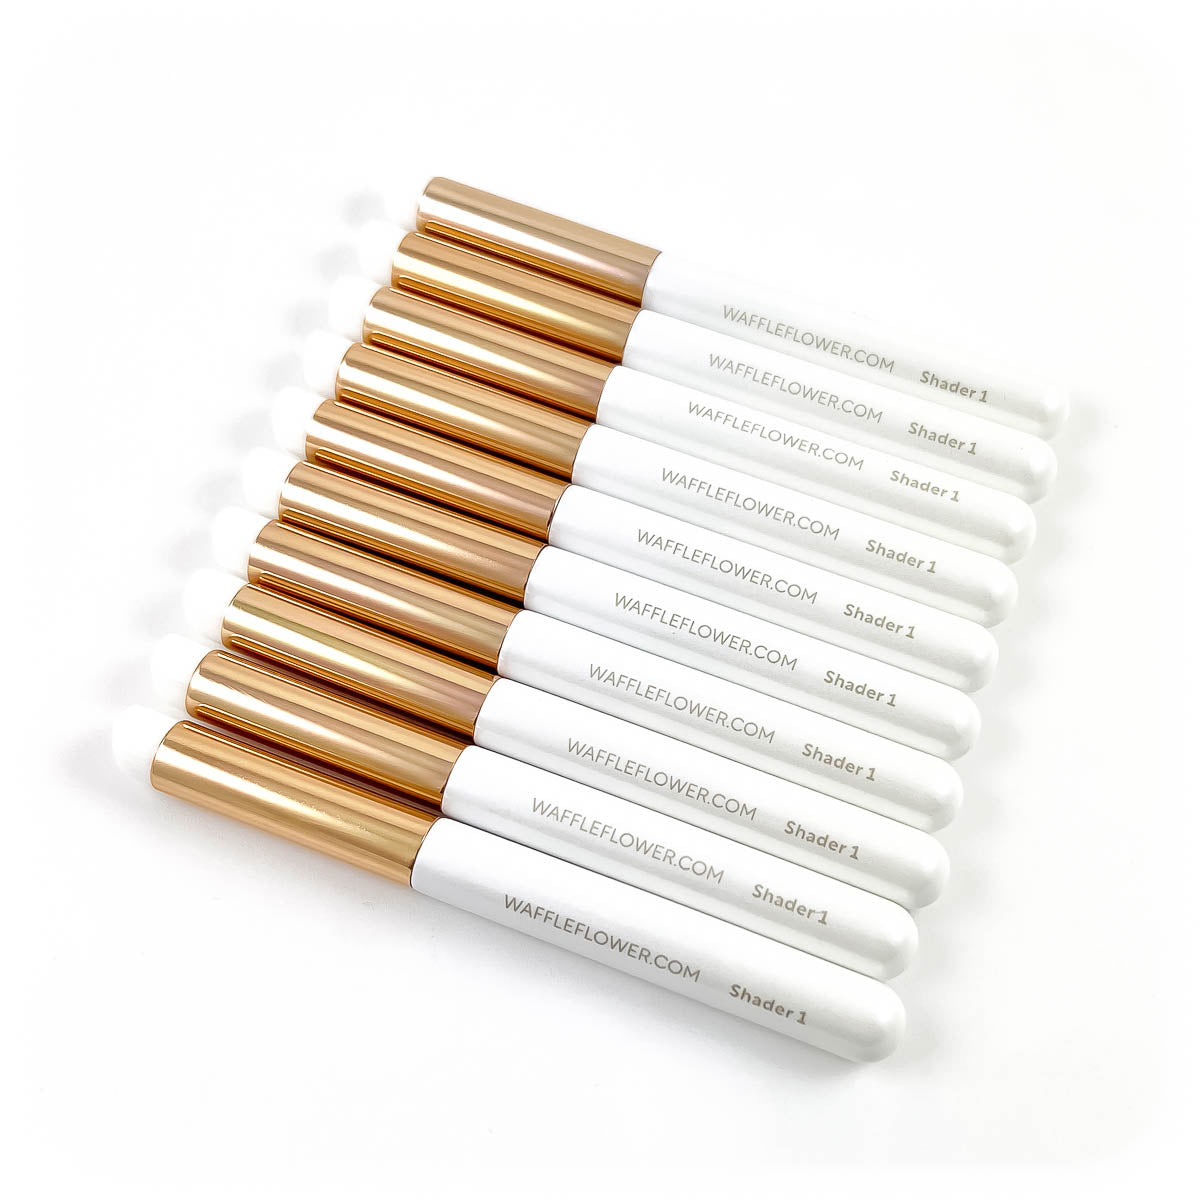
Shader Brush 1 10 Pack Round Tip Brushes
It is recommended that dedicating each brush to similar colors and dab off the excess ink on some scrap paper in between usage. These brushes are also washable with mild soap and under running water – be sure to keep the brushes pointing down to avoid water running into the barrel.
1. Understanding the Waffle Flower Shader Blending Brush
The Waffle Flower Shader Blending Brush is a versatile and essential tool for artists, crafters, and hobbyists alike. It’s specially designed to create smooth and even blends of ink or color on various surfaces, including paper, cardstock, and even fabric. The brush features soft, densely-packed bristles that allow for seamless blending and controlled application, making it a must-have in your crafting arsenal.
2. Choosing the Right Ink and Paper
Before you dive into using the Shader Blending Brush, it’s essential to select the right ink and paper for your project. Water-based dye inks work exceptionally well with this brush as they blend effortlessly and dry quickly. Opt for high-quality cardstock or paper specifically designed for blending techniques to achieve the best results. Experiment with different combinations to find the ones that suit your style and project needs.
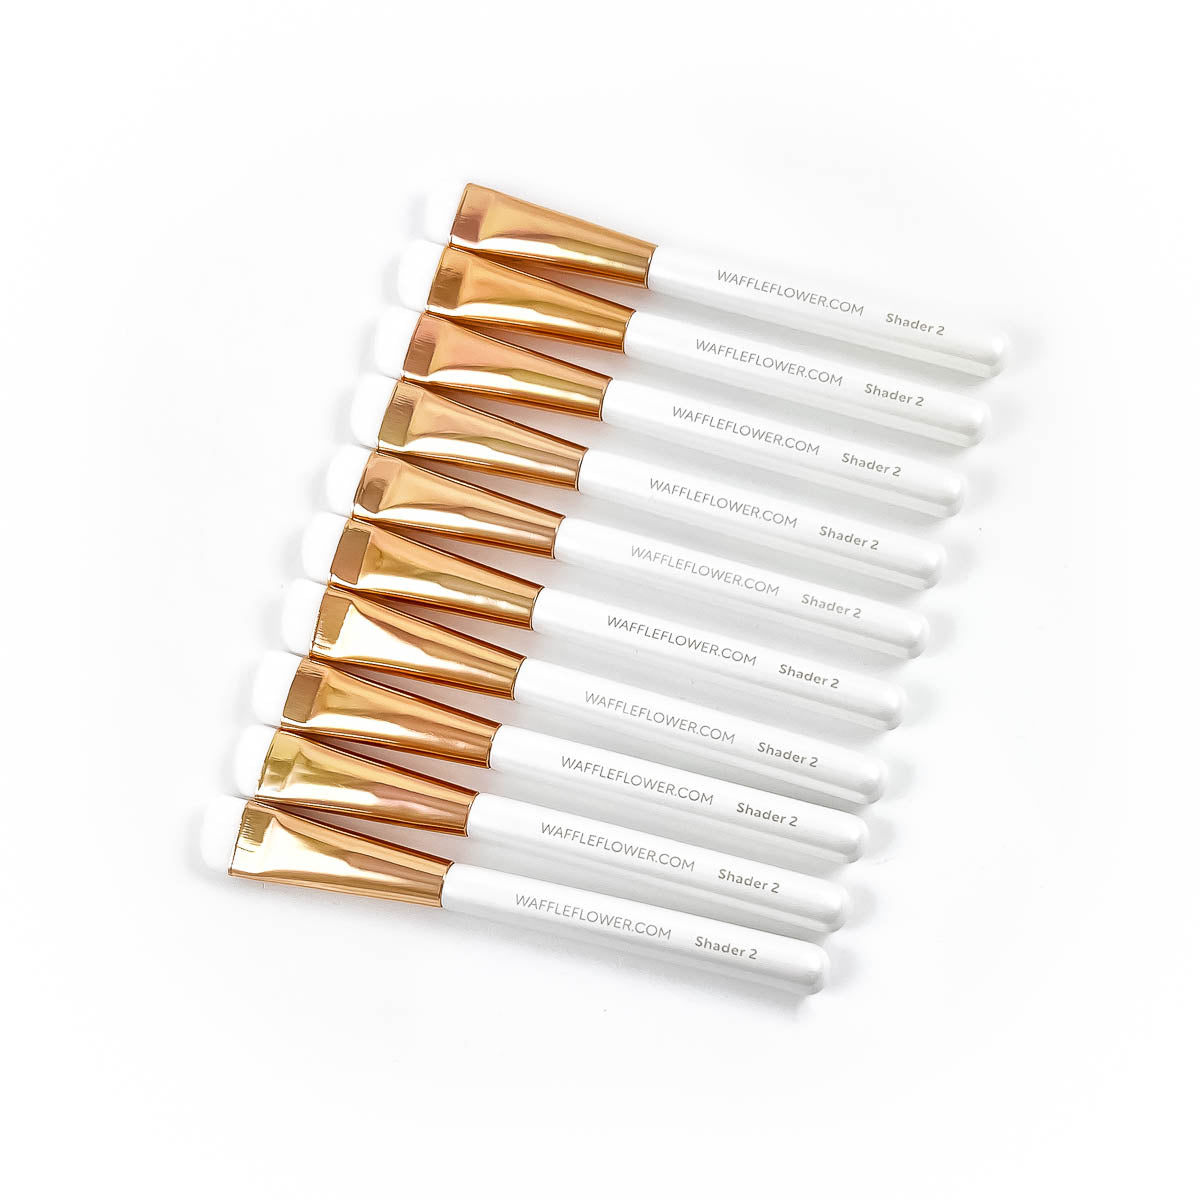
Shader Brush 2 10 Pack – Flat Tip Brushes
Make flowers, cards and more with these brushes.
These brushes allow you to achieve beautiful results using a variety of techniques from laying down multiple layers of color to defining edges to shading. For best results, apply in a “drag-n-lift” or “flicking” motion.
3. Basic Blending Techniques
- Circular Blending: Begin by applying a small amount of ink to your project surface. Using the Shader Blending Brush, make small circular motions to blend the color smoothly and evenly. Gradually build up the intensity of the color by adding more ink and blending as needed.
- Ombre Blending: For a beautiful ombre effect, start with the lightest shade of ink at one end of your project and gradually work towards the darkest shade at the other end. Use gentle back-and-forth motions to blend the colors together seamlessly.
- Masking for Blending: Create stunning effects by using masking techniques. Cover a specific area with a mask (a sticky note or masking tape will work), then blend ink around the mask’s edges. Once you remove the mask, you’ll have a clean, defined shape surrounded by a smooth blend.
4. Layering and Dimension
With the Waffle Flower Shader Blending Brush, you can achieve fantastic layered effects and add dimension to your projects. Experiment with blending different colors on top of each other to create depth and visual interest. Use lighter shades to highlight specific areas or create a dreamy, ethereal effect.
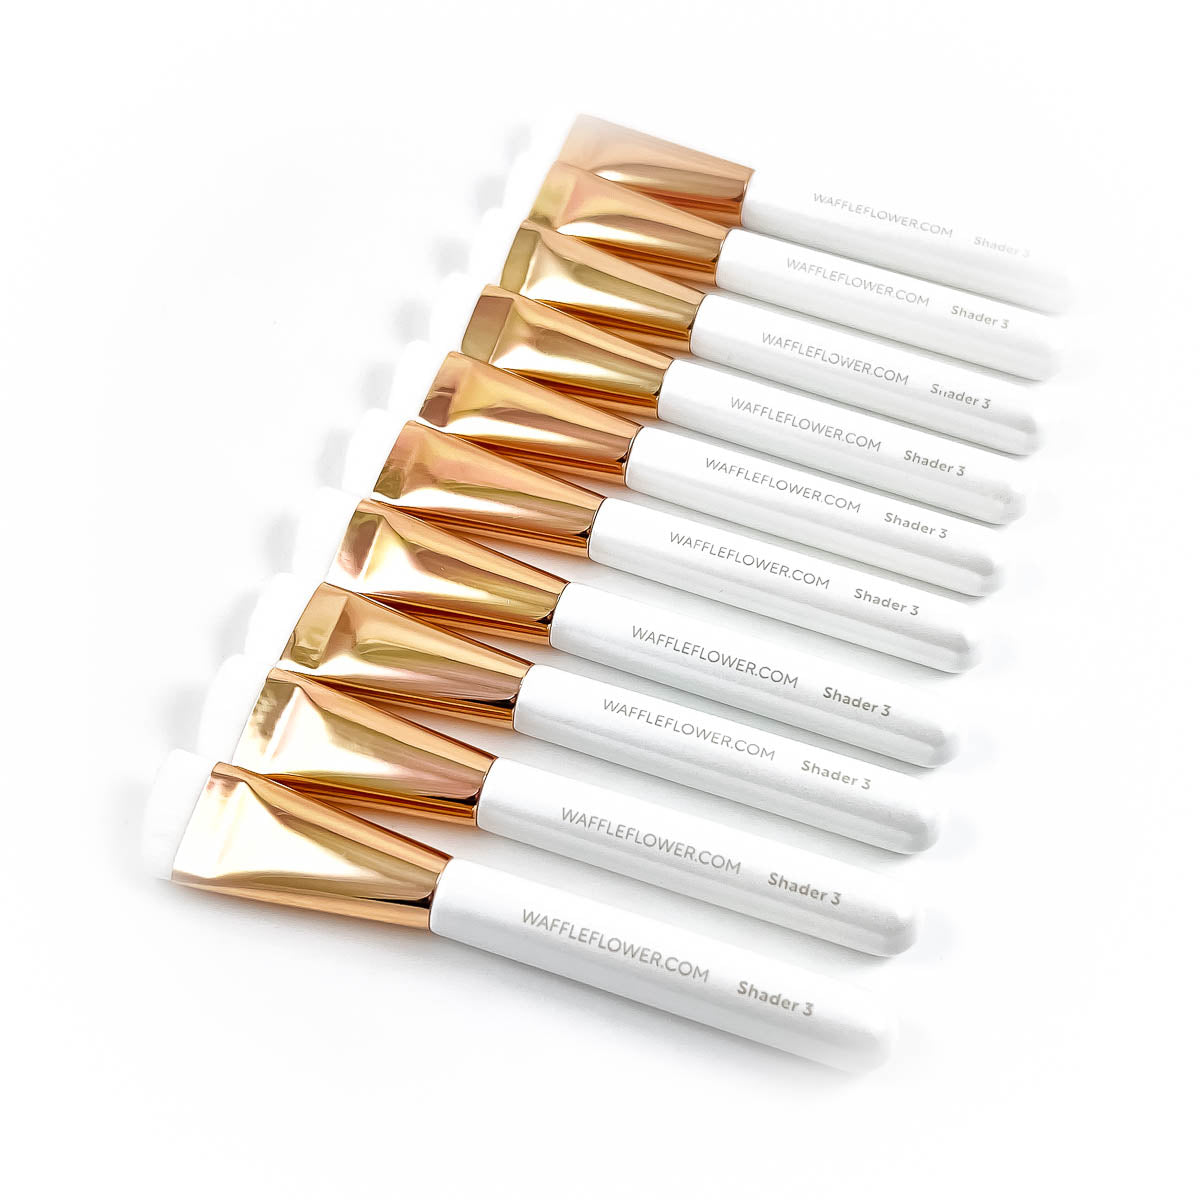
Waffle Flower Shader 3 brushes are flat tip brushes with bristles arranged at an angle for comfort and precision. These brushes allow you to achieve beautiful results using a variety of techniques from laying down multiple layers of color to defining edges to shading.
5. Embellishing Your Projects
Once you’ve mastered the art of blending with the Shader Blending Brush, take your creations to the next level by adding embellishments. Stamps, die-cuts, embossed elements, and sequins are excellent choices to enhance your designs. Remember to balance your composition and not overwhelm the beauty of your blended backgrounds.
6. Cleaning and Care
To keep your Waffle Flower Shader Blending Brush in top condition, clean it thoroughly after each use. Gently wash the bristles with mild soap and water, reshaping them into their original form. Allow the brush to air dry completely before storing it in a clean and dry container.
The Waffle Flower Shader Blending Brush is a fantastic tool that unlocks endless possibilities for your cardmaking and paper crafts. With its ability to create seamless blends and add depth to your projects, this brush is a game-changer for every crafting enthusiast. Remember to practice, experiment with different techniques, and let your creativity flow. Happy crafting!
More to Explore

12Pcs Detailed Ink Blending Brushes for Card Making, Ink Blending Brushes
Mini Blending Tool paint brush professional design, used for Soft Bristle Blender Brushes, painting, painting, art supplies, processing ink tools, embossing templates, and making better-looking handmade crafts


