
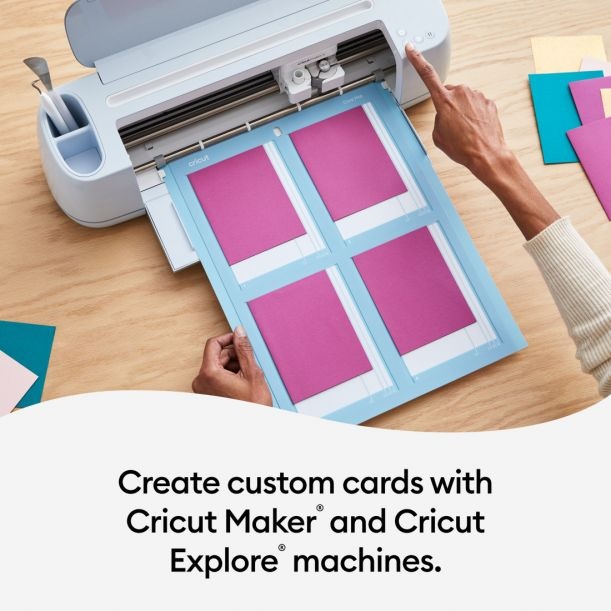
Cricut Card Mat 2×2
Here’s everything that you need to double your cardmaking fun while using your Cricut Machine! Discover these tips and tricks with Cricut Card Kits using your Cricut Card Mat 2×2.
Cricut Card Mat 2 x 2 makes up to 4 cards at a time and is compatible with any of the insert card, cutaway card, and foil card kits. The mat allows you to use ready-to-make designs or custom designs in Design Space.

note this post contains affiliate links
Cricut Card Mat Details
Multiply your card making with the reusable Cricut® Card Mat – 2×2. It holds up to 4 cards and works perfectly with all Cricut cards, including Insert Cards and Cutaway Cards (sold separately). For Birthdays, Thank You, Congrats, or Just Because — or all 4 at once. Make every card count. For all Cricut Explore and Cricut Maker machines.
How to Make Insert Cards Using Ready-to-Make Projects
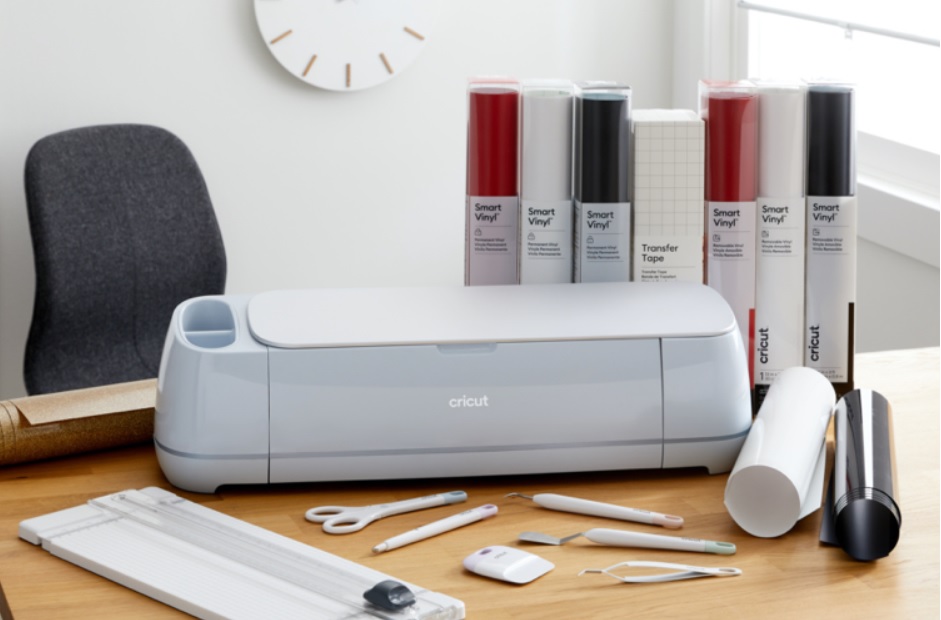
First thing you will need to do is to go to Cricut Design Space and make sure that you have your Cricut Maker or Cricut Explore machine selected.
Select “All categories” or select the “Cards” category in the drop-down menu. Then type in your search term to display a selection of pre-designed, “ready-to-make” cards. Each card design can be customized to different sizes so that it corresponds with your card kit supplies.
Card kits come in various sizes, which are also compatible with Cricut Card Mat 2 x 2. Here’s a list of all the card sizes that work with this mat.
- R10 – 3.5 in x 4.9 in (8.9 cm x 12.4 cm)
- R20 – 4.25 in x 5.5 in (10.8 cm x 14 cm)
- R30 – 4.5 in x 6.25 in (11.4 cm x 15.9 cm)
- R40 – 4.75 in x 6.6 in (12.1 cm x 16.8 cm
- S40 – 4.75 in x 4.75 in (12.1 cm x 12.1 cm)
Get Ready to Cut
When you click “Make it,” you’re sent to a screen that may prompt you to select your mat. Choose the “On Card Mat – for pre-folded cards” and click continue. Design Space automatically arranges and center cards on the mat, keeping the same colors and sizes together.
Change the placement of your design by simply selecting and dragging to the desired open space. You can also use the drop-down menu on the far left to change the card size.
Cutting and Assembling Cards
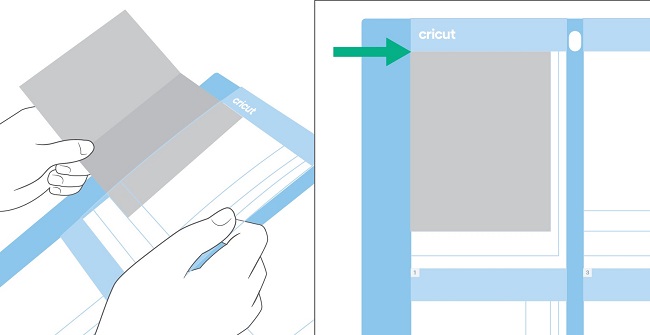
Keep the sticky portions of the mat covered with the mat protective covers, shiny side down, until you are ready to use your mat.
Starting with the card in top left corner, we will slightly open the pre-folded card and slide the back of the card through the slit of the card mat, keeping the card flush against the top of the card slot and with the fold flush against the edge. Smooth the top of the card down evenly against the card mat so that only the top of the folded card will be cut. Repeat with any additional cards, making sure to match the placement of the cards to the cut preview screen.
If you are using pens and or Cricut Foil Tool, make sure to follow the on-screen prompts for the correct color and thickness. Then, select the correct cut setting from materials menu.
Place Cricut Card Mat 2 x2 under the machine tabs and up against the rollers. Then, move your four white wheels to the middle of the bar so that they are aligned with center of the card mat. This part is important: make sure the star wheels are placed properly so that they hold down the mat rather than creating any unwanted marks on your cards. Then, simply load the card mat and press the “Go” button! Once cut, remove your card mat and gently remove each card.
More New Ideas from Cricut
Compare Cricut Cutting Machines
Discover which Cricut machine is best for your crafting needs. You can compare the Cricut Maker 3, Cricut Explore 3, Cricut Maker 2, Cricut Maker and Cricut Joy and find out what each one is capable of.
- Smart Bird Feeder Cameras: How to Watch Birds for Stunning Backyard Bird Watching

- Creative and Stylish Decor Ideas for TV Stands with Fireplaces

- Indulge in the Ultimate Supersized Super Soft Chocolate Chip Cookies Recipe: A Perfect Treat for Cookie Lovers

- Best Drawing and Art Supplies on Amazon

- How to Crochet a Scarf – Learn the Steps to Crochet an Easy Scarf